Showing posts with label "building a Sims house". Show all posts

Monday, May 18, 2009

The Sims House Grand Tour

In my last two blog posts, I took you on a tour--via pictures--of a Sims house I'd just built. This time, I thought I'd take you on a tour of another of my new Sims houses through a series of short videos. I apologize in advance for the jerky camera action, but it is difficult to be super precise when you are dealing with narrow hallways and such. So, follow me...

As we approach the house, you can see that it is a 2-story house with dormer window in the front and a porch with black wrought iron fencing. The outside surface is a gray slate, which I find quite dramatic, especially when combined with white windows and doors. Let's go in.


Next, go through the foyer and into the livingroom on the right. I love bold colors--like this livingroom with bold red carpeting--but I tend to do the foyer in a more neutral palette like this pale wood floor, panelling and paint.

Leaving the livingroom, we go out into the back hall and across to the study. The study--or what I call the skills room--is always one of my favorite rooms to build and decorate. I like to make it a room that I could envision myself relaxing and reading in. I usually have bookcases, a piano and a chess board in there--a place where my Sims can work on most of their skills.

After a 360-degree tour of the library, where Mom Jackie is taking a quiet break from the baby with a good book, we head back out into the back hall.

This is a first floor guest bedroom that is being used temporarily as a nursery. When I started building the house, I had every intention to include a first floor nursery (as I nearly always do), but I got so into designing the house--which I think is different than anything I've built before--that I forgot to include a nursery. So when a baby arrived, I had to improvise! Leaving the nursery, we go out onto a lovely private terrace, complete with hot tub.

Leaving the terrace, we go back inside, and down the hall to the kitchen (where Dad Zedrick has just fed the baby--I think he's already fallen asleep! The baby--not Dad! hehe).

Here, we pass through the kitchen (excuse us, Zedrick) and into the dining room. One of my favorite dining room designs is a large bay window with the long white arched windows in it. I guess it is sort of my own fantasy of being able to sit in a room with a lot of light and look out a bay window at the garden while I eat.

If you'll head up the stairs to the second floor, we can take a peek at the not-yet-furnished master suite--a beautiful turquoise room that mimics the bay window design of the dining room which is just below it. As the camera faces the double doors, you will see an archway to the left and right. Those are the bathrooms of the master suite.

Well, that's it. I hope you enjoyed the tour! If there's something else in regard to my Sims or Sims houses that you'd like to see or hear about, please use the comment function to let me know! Thanks for stopping by My Sim-Called Life.

Saturday, December 27, 2008

Building a Sim house - Part II

In Part I, I talked about designing the front entrance of the house, laying out the basic structure of the first floor foundation, laying in bathrooms at the front of the house, and creating the first floor master bedroom suite with easy access to the kitchen. In Part II, I continue with the rest of the house and show the finished project.

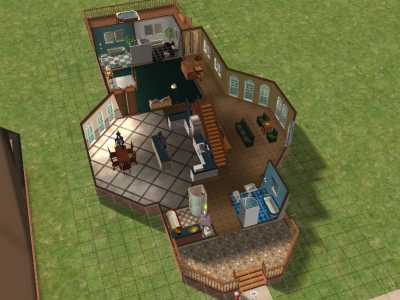
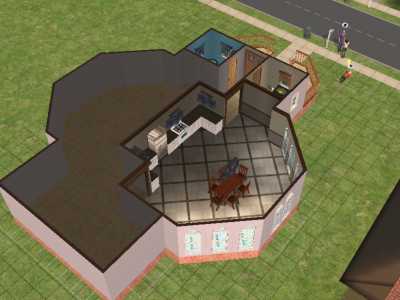
As shown in Part I, I created a long rectangular foundation with a bay window push out on each side. One bay window area becomes the combined kitchen and dining room as shown here. After this picture was taken, I did add an island between the appliances and the table, to put the served food (and the dishwasher) closer to the diners. I used a very neutral color palette in walls and floor and then used white counters with a deep teal top and lighting to match (pretty close, anyway) as the pops of color.


In the above shot, you can see the entire first floor--small porch, 2 guest bathrooms, combined kitchen & dining room, combined livingroom and skills room, master suite with 2 bathrooms and a back deck with hot tub.


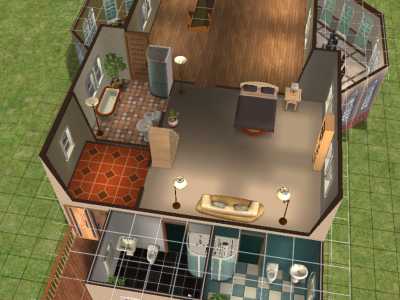
Since there are only 3 people living in the house, and no immediate plans to expand the family, I added only a partial second floor vs. covering the entire space of the first floor with the second. This provides the little mini-roofs on the first floor that you will see in the completed pictures, below. This is the upstairs bedroom and bathrooms (only 1 bathroom is furnished in this pic). The upstairs living space hadn't been furnished yet when this picture was taken.


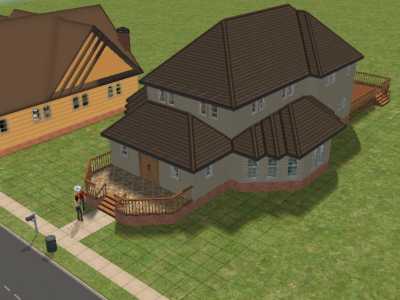
Here, I've added the roof and the house itself is complete except for the landscaping. As you see, the mini-roofs at the front and sides (and back, which you can't see from this angle) are a result of adding only a partial second floor. The roofing then compensates for the unused space.


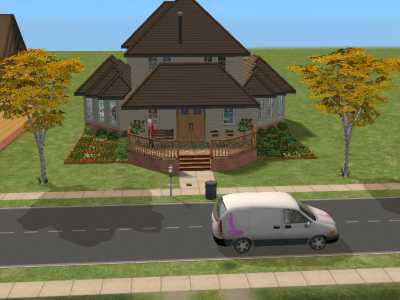
Voila! All done. I put in a garden of rosebushes and ground flowers in on both sides of the entrance and added trees on each of the front corners. It isn't as grand as many of the Sim hosues I've built, but I'm pretty happy with it.


I have found, over years of building Sim houses, that it makes sense to build houses to meet the Sims needs and not just to build a house that looks good. For example, if you don't have enough bathrooms, you aren't going to be able to get your Sims to work or school on time. If you have the kitchen too far from the entrance, your Sims may miss their bus or carpool (where they have been eating their breakfast).